
Hi My Kali LinuX Users.
Today in my 2nd article, I`m gonna show you: How to Write an NTFS Partition of HDD/SDD in Kali LinuX. For this, you have to follow me to the end (Almost).
Q: What is the Actual Problem with writing NTFS?
Kali LinuX actually does not support writing of NTFS partition of a drive, specially if you have DOUBLE-BOOTED your PC. This factor is not provided by the Developers, but it is a minor Fault in writing NTFS Partition. In this Article, we are gonna fix this fault (or BUG) to fix the problem, and do minor Tweaks in settings of mounting partitions. But... when you reboot your System, this fault might appear again. For me, it reappeared when I rebooted my System, when I First fixed this Fault. But Later, I did`nt experienced this Ever Again. So lets get Started ...
Step 1: Checking the Partition Version
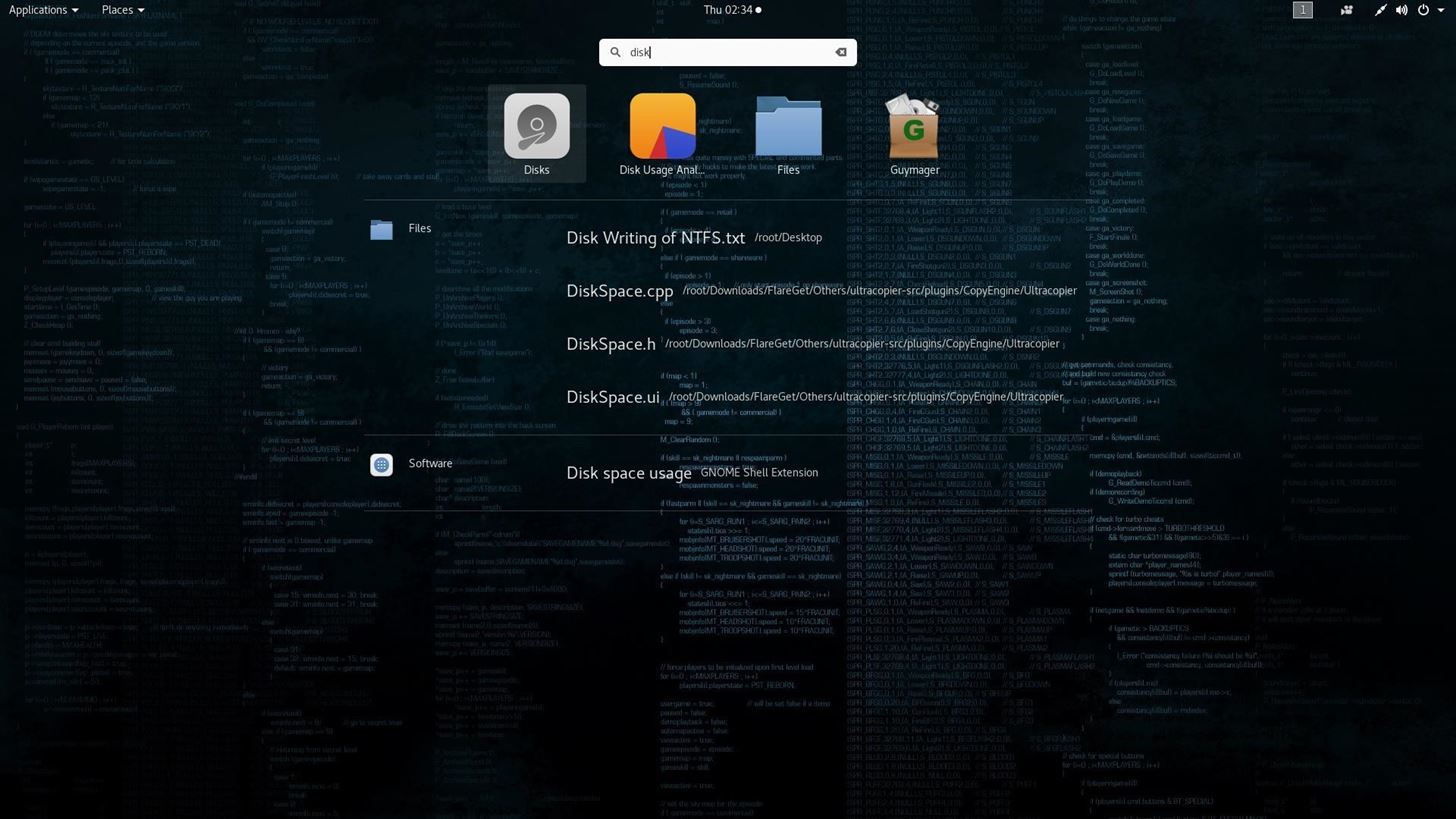
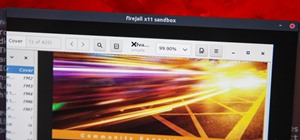
To check the partition version, go to "File Manager", then "Other Locations"

In the above Screenshot, you can see Partition, Right next to it (i.e. /dev/sda5). Your "Other Location" window Might be different, because I`ve already mounted Partition: "Workshop"
Here, we are gonna Mount (for example) "Workshop" (/dev/sda5). You have to use your version of partition if you are gonna mount other partition (i.e. /dev/sda1).
Step 2: Fixing the NTFS Writing Errors
To fix NTFS Writing error, just type following command in Terminal (for me, it is "Workshop" , you have to write sda1,sda2,sda3,sda4, and sda5 to fix all partitions):
ntfsfix /dev/sda5

It will fix the Temporary Errors in your disk.
Now, Unmount the partition and open it. It will now be Read/Write able.
|=================>DONE<=================|
Step 3: Still Got Nothing ...!? (OPTIONAL)
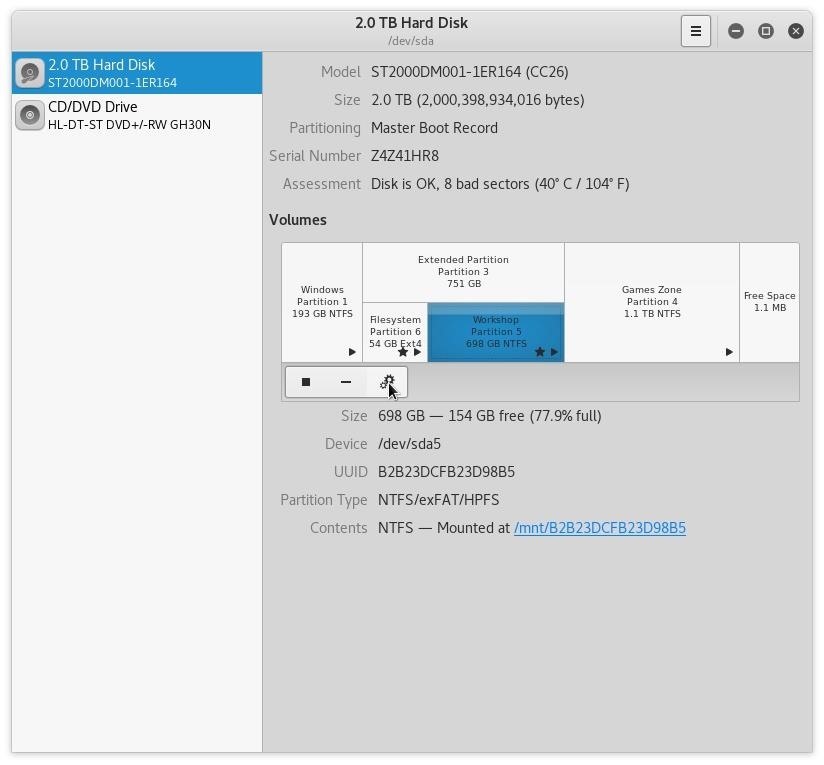
If you are still experiencing the above problem, then go to MENU -> Disks
In "Disks" you will be able to see your Hard Drive, CD/DVD-ROM, Portable USB etc.
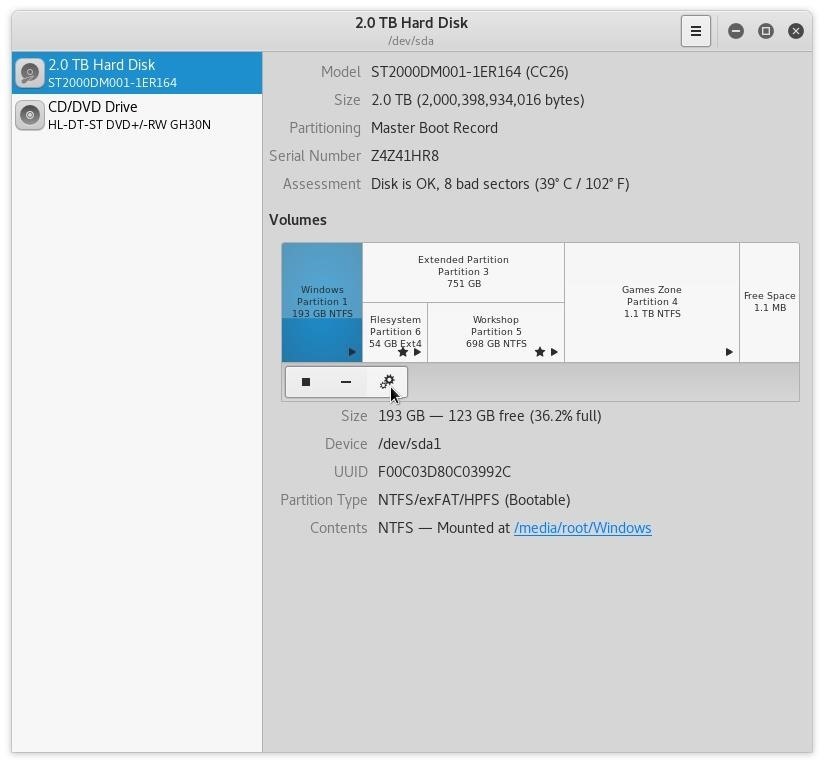
Here just go to your NTFS Hard Drive and Select Desired partition, which you want to MOUNT in Read/Write Mode, and select "Settings Icon" below (See the pointer in below Screenshot):
After clicking on Settings Icon, Select "EDIT MOUNT OPTIONS ..."

Now, here Un-Check "User Session Defaults" and add ,rw in Field above Mount Point.

Now, Click OK, then Reboot your system.
After Rebooting, go to File Manager -> Other Locations and click Un-Mount Icon on the right (See the Pointer Below):
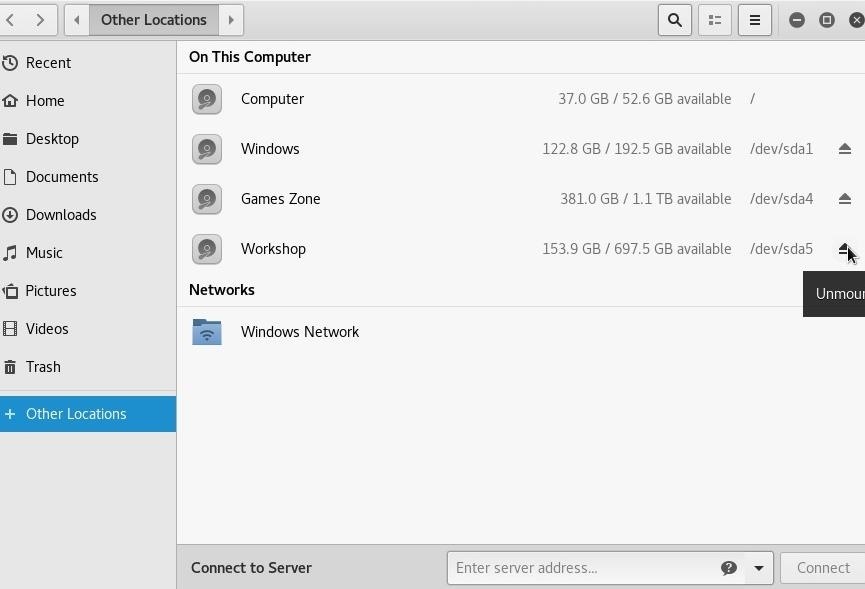
After Un-Mount, Your disk become NTFS Read & Writable. If not, again repeat Step #1 & Step #2
====> Note:- <====
Note: If you find any Problems, or you think I`ve missed something, then feel free to report in Comments section. I will Respond to you, and will fix the errors as soon as possible. Thank You So Much For Reading My Article ...!
This Article is created for education purposes only. I`ll not be responsible of any Illegal use of this information.
Anyway, Thanks for reading my thread (You can also join our WhatsApp Group for more information and Guides).
- H4ck3R_777


2 Responses
If You Liked My Guide, Then Don't Forget to Like This Comment & Give Feedback ...!!!
thanks for guiding about NTFS formate, this is my first time to formate my hard disk and install linux operating system.
Share Your Thoughts