

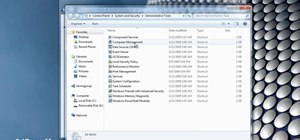
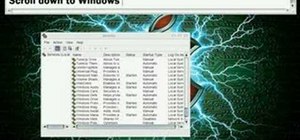
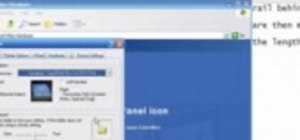
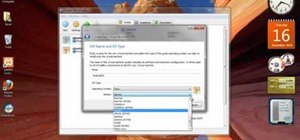
This video demonstrates how to change a drive letter to a certain drive in your Windows 7 computer. On you Windows 7 computer, go to Start > Control Panel. In the Control Panel, select System and Security then open the Administrative Tools. Look for and open the Computer Management tool. On the left side pane of the Computer Management window, select Disk Management. Look for and right click on the drive you want the drive letter changed. Select 'Drive Letter and Paths...'. Click change and select the letter you wish to assign to your drive. Select OK. When a prompt window appears, select Yes. Once done, you have now successfully changed the drive letter of your choice of your drive.
Just updated your iPhone? You'll find new emoji, enhanced security, podcast transcripts, Apple Cash virtual numbers, and other useful features. There are even new additions hidden within Safari. Find out what's new and changed on your iPhone with the iOS 17.4 update.


Be the First to Comment
Share Your Thoughts