
If you've ever wiped your computer without having a proper backup of your operating system, or just wanted to cause some havoc online, chances are you've had to rely on Linux to help you out, specifically the Ubuntu distro.
Ubuntu doesn't get a lot of love compared to powerhouses like Windows and Mac OS X, but those who do use it are often fans for life. It is currently the most popular Linux distribution and has a dedicated community that's actively working to make it smoother, faster, and more secure.
Since it's based off of Linux, it has the ability to boot on pretty much anything, from a USB drive to a potato. While it's pretty impressive that a root vegetable can handle an entire operating system, it won't help you get your computer up and running. In this guide, I'm going to show you how to create a USB drive that contains all of the necessary files to boot your Windows PC or Mac into Ubuntu.
To create this bootable USB drive, also known as a live USB, you will need access to a USB drive with at least 2 GB of storage and a functioning computer, but it does not matter if it is a Mac or Windows. In addition, you will also need a copy of the latest version of Ubuntu, which can be downloaded from Ubuntu's official download page.
Installation for Windows Users
If you have access to a Windows machine, the process of creating a live USB is extremely easy. All you have to do is download the Universal USB Installer from Pen Drive Linux.
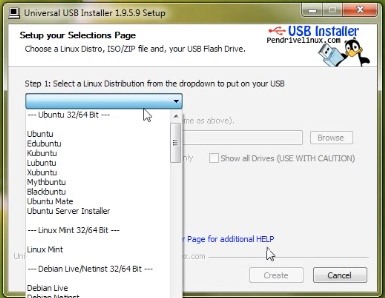
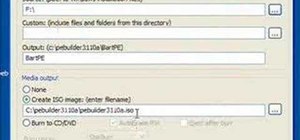
After the program has downloaded, double-click the .exe file and wait for it to start. Once it's at the main menu, select "Ubuntu" from the drop-down list under Step 1, then click "Browse" under Step 2.
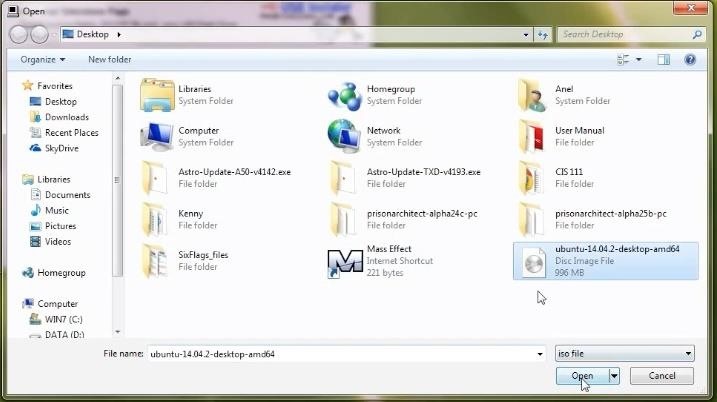
Now navigate to where you downloaded the Ubuntu.iso file and select it—it should be in your Downloads folder unless you moved it. All that is left to do is to select your USB drive under Step 3, then click "Create."
The creation process take a few minutes to complete.
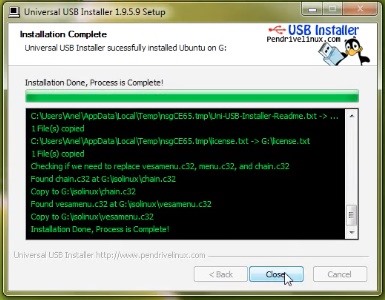
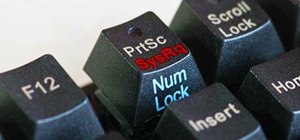
When it's done, you can boot directly into Ubuntu by selecting the USB drive from your Boot Devices. The way to access the the Boot Devices menu varies between manufacturers, but it can usually be accessed by pressing one of the F keys right after powering on your computer.
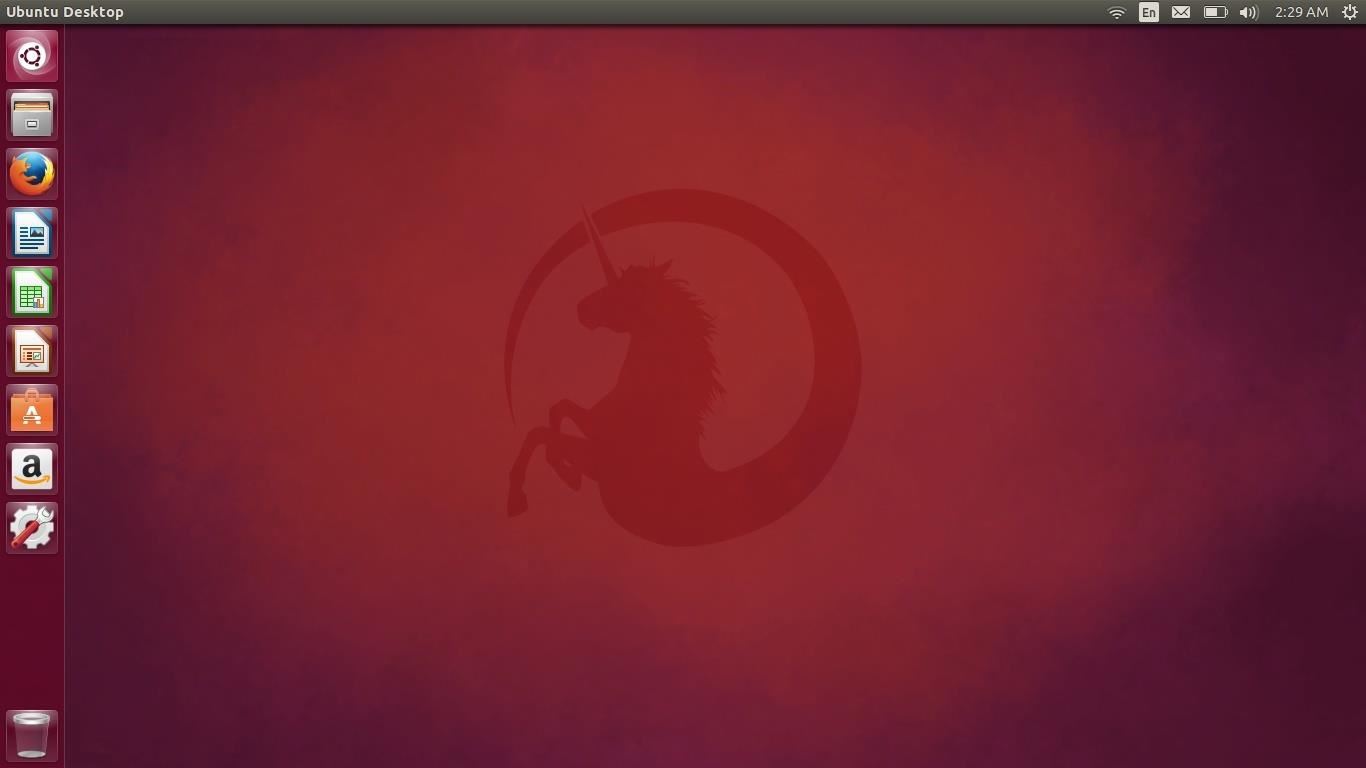
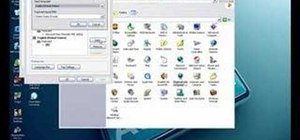
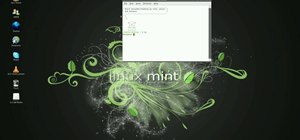
Once you select your live USB disk and your system boots up, choose the option to "Try Ubuntu Without Installing" and wait for the operating system to start.
Installation for Mac Users
Unfortunately, Mac OS X does not have a tool like Universal USB Installer to create a live USB, but as a Mac user, you should be used to that feeling by now and know that it isn't a big deal. Instead of using a traditional app, we will use Terminal.
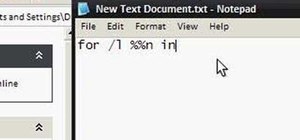
To get started, you'll need to convert the Ubuntu.iso file into an .img file. I'd recommend renaming the .iso to "Ubuntu.iso" and placing it on your Desktop to make the following command easier.
hdiutil convert -format UDRW -o Desktop/Ubuntu.img Desktop/ubuntu.iso
If the location of your Ubunto.ios file is somewhere else, and if you want to save the .img somewhere else, adjust each "Desktop" part accordingly before entering the command into Terminal.

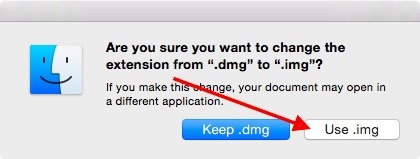
The output file will have a .dmg extension added to it, so just rename the file to "Ubuntu.img" and click "Use .img" when prompted.
Now you can flash the .img file onto your USB drive, but first you'll need to know which device node it's associated with. To do that, plug in your USB drive and enter the following command:
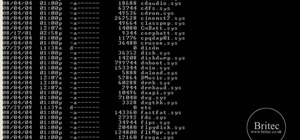
diskutil list
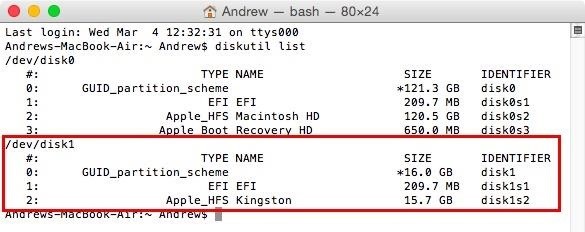
You should now see a list of all the drives attached to your Mac. Look for your USB drive and take note of the number after /dev/disk. If you are unsure which disk is associated with USB drive, you can unplug your drive, enter the previous command, plug your USB drive back in, enter the command one more time, and then compare the two outputs to find your USB drive's node
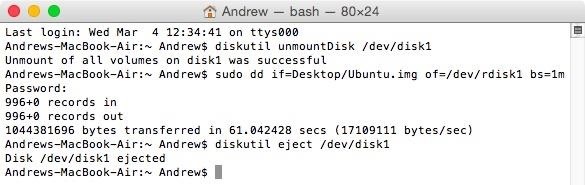
Once you have that node number, you can use it to flash the the .img file with the following commands. Be sure to replace the # symbols with your node number and run each command separately. When it asks for you admin password, make sure to enter it and continue on. Also, make sure to replace "Desktop" if your .img file is somewhere else.
diskutil unmountDisk /dev/disk#
sudo dd if=Desktop/Ubuntu.img of=/dev/rdisk# bs=1m
diskutil eject /dev/disk#
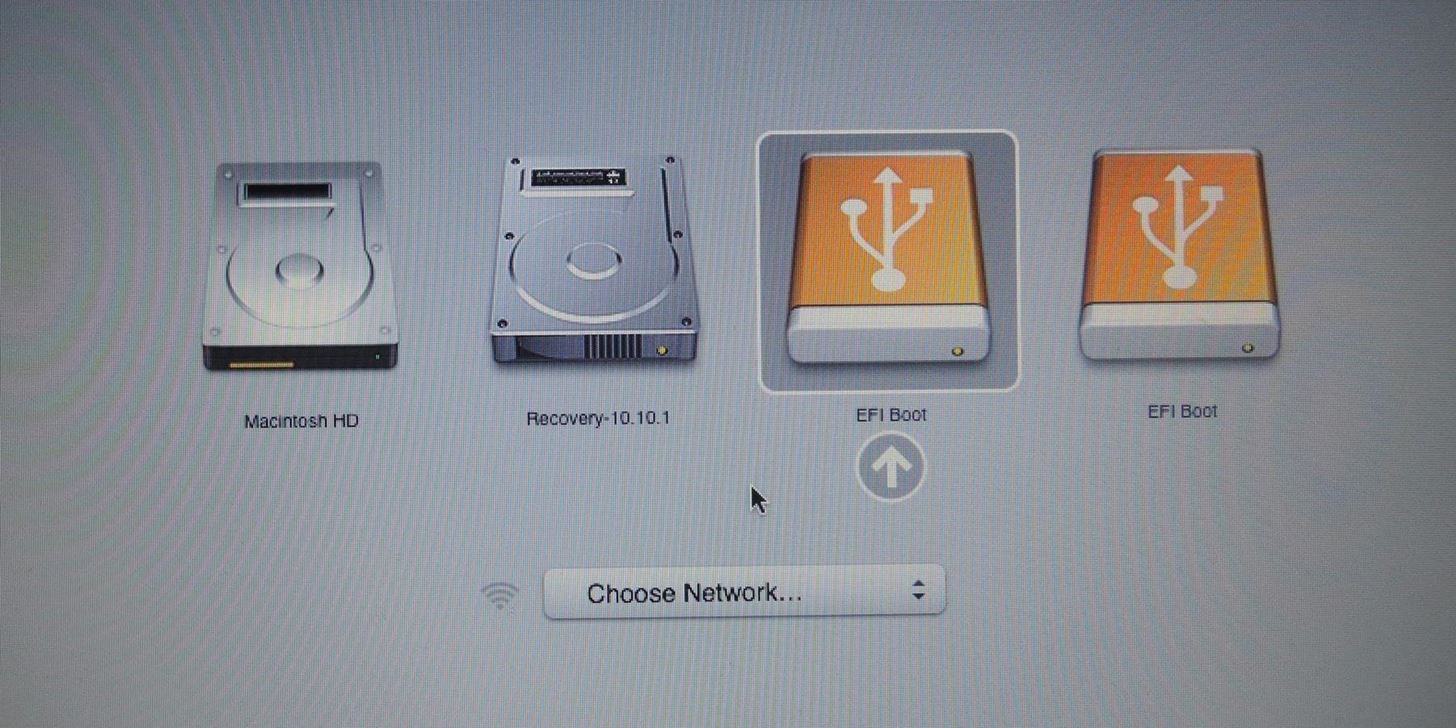
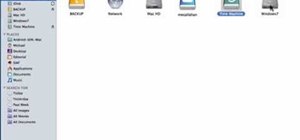
After the drive is ejected, it can be used to boot your Mac into Ubuntu without installing a single file onto your Mac's hard drive. To do that, you will have to hold down the Option key on your keyboard right after you press the Power button to turn it on.
When you see the list of available Startup Disks, use your arrow keys to highlight "EFI Boot," then press Enter. Once the system boots up, select "Try Ubuntu Without Installing" and wait for the operating system to start.
Explore Ubuntu
Ubuntu has a ton of useful features that you will not find anywhere else. Trying to break down everything is about as hard as naming all of the individual hairs on your head, so for now, just check out the feature list on the Ubuntu website and check out Null Byte if you want to pick up some devious Linux hacks.
What are you using Ubuntu for? Let me know in the comments below. And make sure to follow Gadget Hacks over on Facebook, Google+, and Twitter to stay up to date on future posts.
Just updated your iPhone? You'll find new emoji, enhanced security, podcast transcripts, Apple Cash virtual numbers, and other useful features. There are even new additions hidden within Safari. Find out what's new and changed on your iPhone with the iOS 17.4 update.


2 Comments
hey so when i try to type that command in the terminal it tells me no such file or directory? Im using Mac on El Capitan OS
Did you place the iso on the Desktop and rename it?
Share Your Thoughts