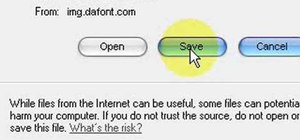
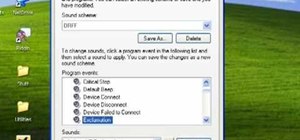
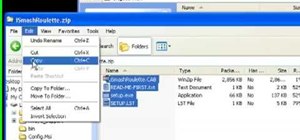
This video is about how to install new fonts in Windows XP. The first step that you will need to do is open your web browser then search for fonts. If you have found the site, just simply click on it. Then the next step is have a browse and look for the font you like. Once you have found the font that suits you best, just simply click the button "download" then save the file in your computer. Once you have saved the file in your computer, simply right-click the file and click on the "extract here". Once you have extracted the file, go to the control panel and click on "appearance and themes". Then on the left side of the window, click the word "Fonts". After wards, drag the font to the "Fonts" folder for it to be installed and you're done!
Just updated your iPhone? You'll find new emoji, enhanced security, podcast transcripts, Apple Cash virtual numbers, and other useful features. There are even new additions hidden within Safari. Find out what's new and changed on your iPhone with the iOS 17.4 update.









Be the First to Comment
Share Your Thoughts