

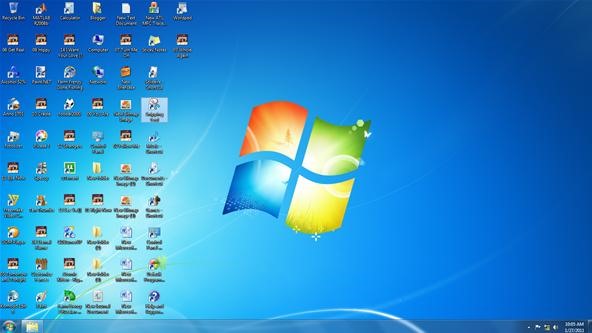
Does your desktop look messy and unorganized?? Are there hundreds of icons in your desktop?? And it takes minutes to just find one??
Try this...
See my messy desktop:

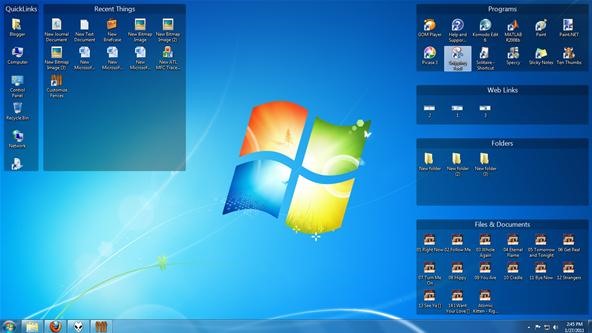
With a few minutes and a couple of simple and easy steps, you can turn this into a classy and organized view.
Here's how.
Step 1 Download Stardock Fences
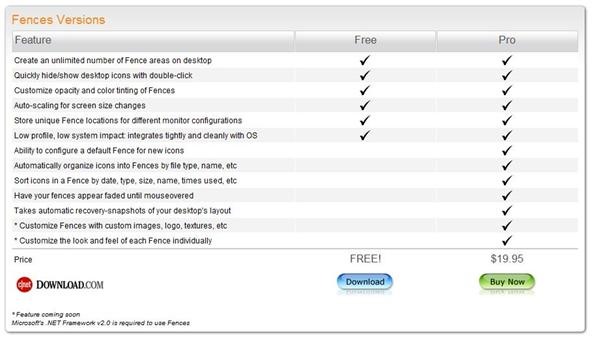
Download the latest version of Stardock Fences from their website. Here you can either choose to download the free version or you can buy the professional one. For homely usage, I think the free version has enough good features.
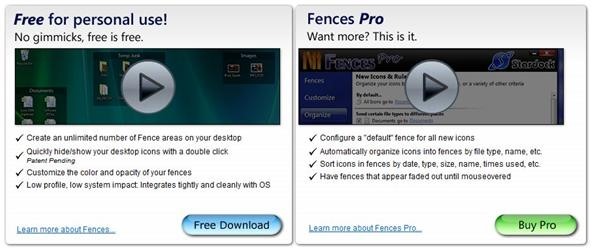
See that the pro version has a couple of extra features. Click on the "Download" button.
Click on "Download Now" to start downloading (via CNET).

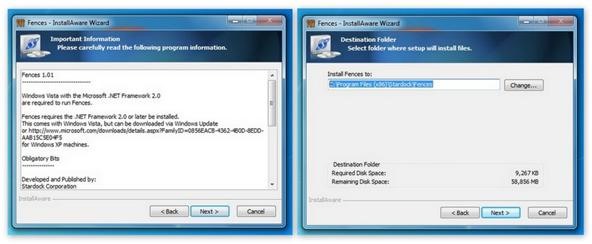
Step 2 Install Stardock Fences
After you've downloaded it, start the installation setup. Install Stardock Fences by following the onscreen instructions.
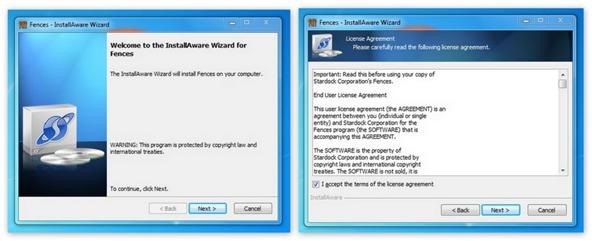
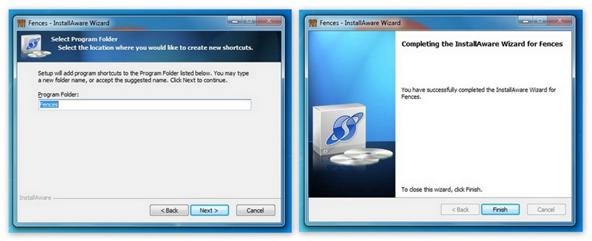
Notice how simple this is.
Step 3 Start Using Fences
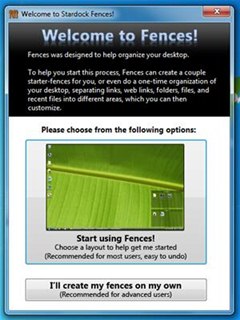 Welcome to Fences! Here, you can choose start using fences or act like an expert by creating fences on your own.
For starters, I recommend the big square button - "Start Using Fences".
Step 4 Choose a Layout
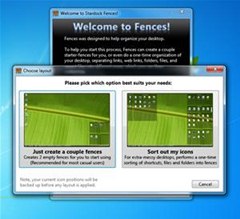 Here, you can either create a couple of fences or you can automatically reorganize all of the icons on your desktop.
For a messy desktop like mine, I prefer sorting it all out in one-click.
Step 5 Ready to Go
See how your desktop gets a classy organized look.
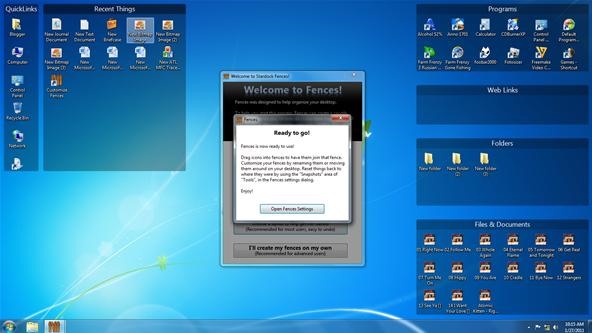
To toggle through Fences' settings, click on "Open Fences Settings".
Where did my icons go??
Did your icons vanish suddenly?? No need to worry. It's just an additional feature on Stardock Fences. Here's how it works:
If you double click on the desktop, your icons will temporarily be gone along with the fences. It allows you to view the whole desktop without the icons and fences.
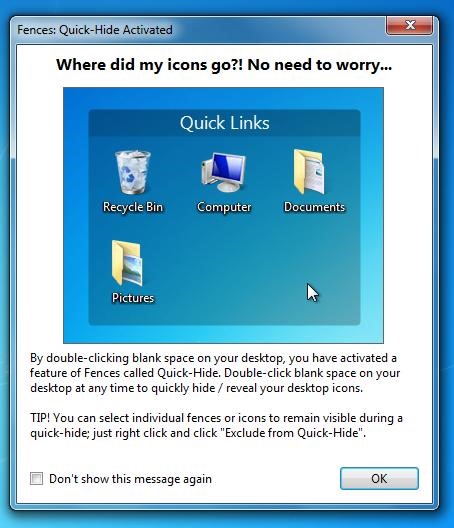
If you don't like this feature, just open the Fences' settings (if you don't know how, just follow the steps I've given to open Fences' settings at the end of this article).
And check out the "Hide/ show desktop icons when desktop is double clicked" option.
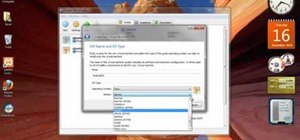
Step 6 Fences Settings
Now that your fences are created, it's time to adjust the settings according to your likes.
In the Fences Settings window, you will find the following tabs.
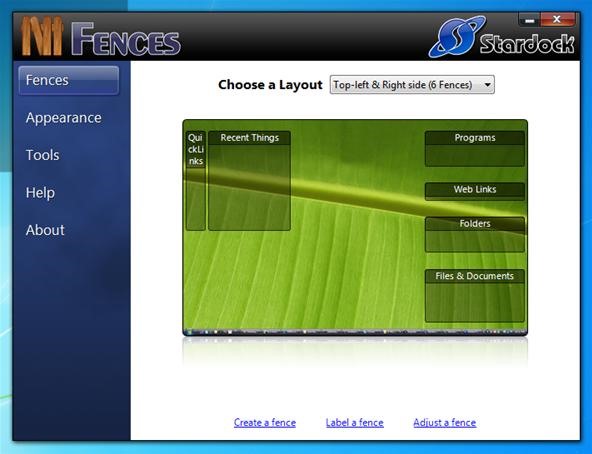
Fences
Here, you can choose different layouts; create, label and adjust fences.
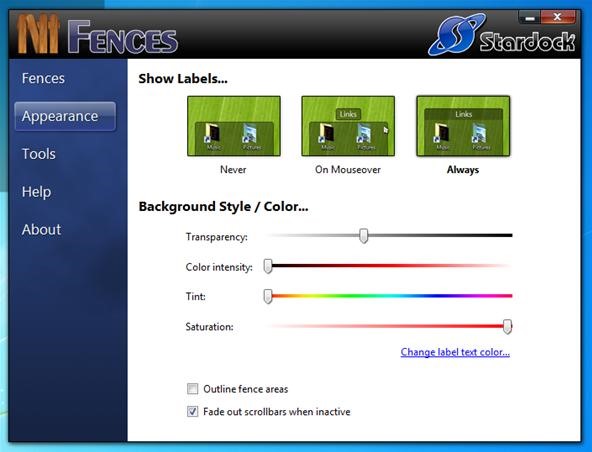
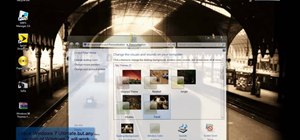
Appearance
Here, you can choose whether you want your fences with labels or not. But if you've got a whole lot of icons in your desktop, I prefer you keep the labels so that your icons will be easy to find.
You can also change your fences' background colour, appearing style etc.
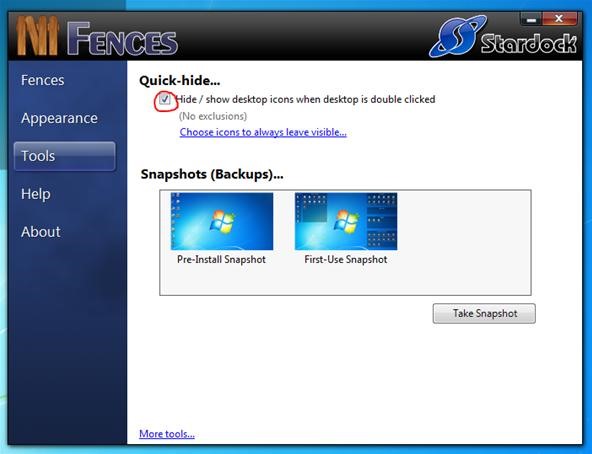
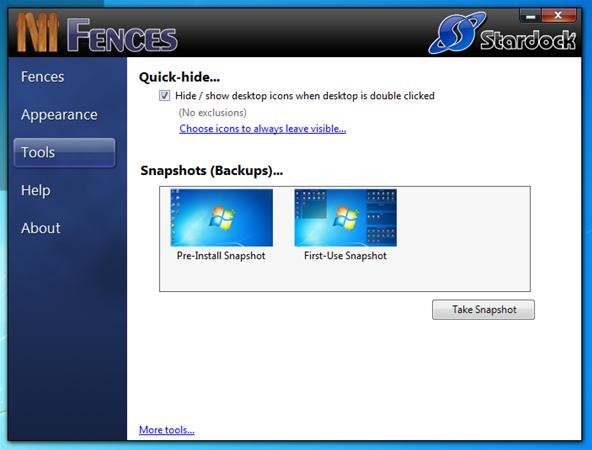
Tools
See the "Quick-hide" section under your Tools menu. It's an additional feature Stardock Fences present. It allows you to view the whole desktop (without fences and icons) in just a double click!
Also notice the Pre-install and First-Use Snapshot.
And also, you can take a snapshot of your desktop anytime by clicking on the "Take Snapshot" button.
Help
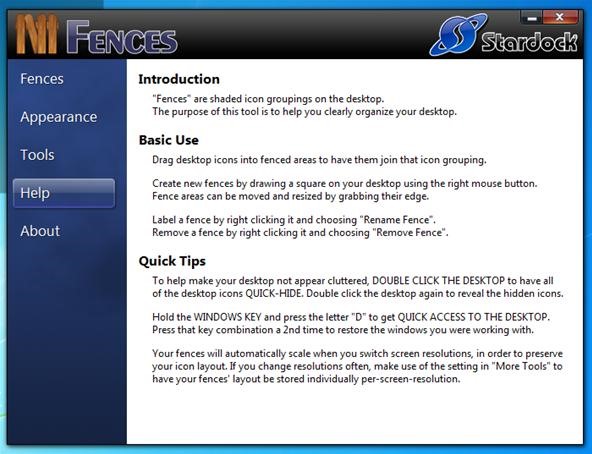
Here are some quick tips to help you handle 'Stardock Fences'
Tips : Open Settings
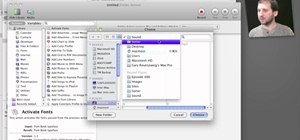
- You can customize your fences anytime you want by clicking on the "Customise Fences" shortcut icon in the desktop.

The following window will appear:
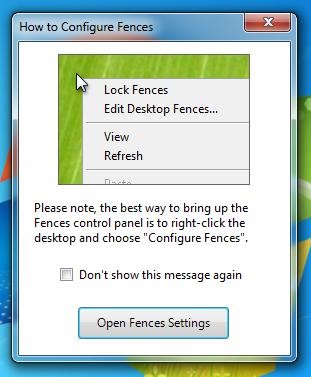
Here, click on "Open Fences Settings".
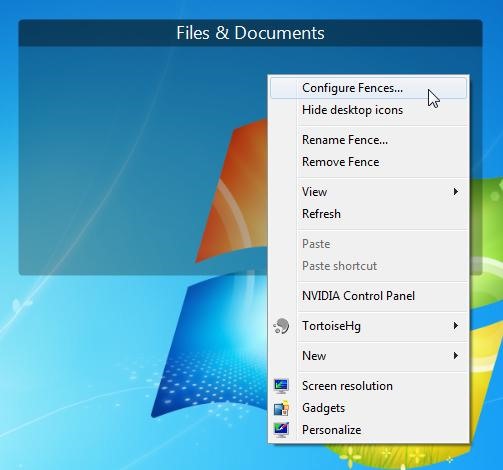
- Or you can just right click on any of the fences. A drop-down menu will appear. There click on "Configure Fences".
Step 7 Edit Fences: Move, Rename, Remove and Lock
After going through the settings, you can arrange the fences according to your mood in the desktop.
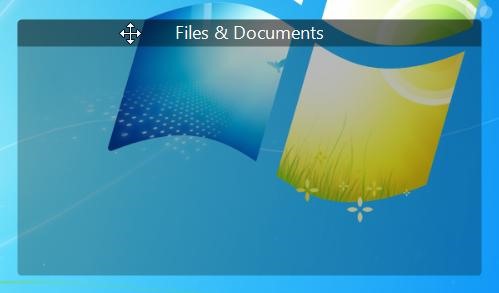
Move
Click on fences' label (or the top) and drag them around.
Rename
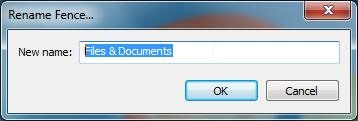
Click on the fence you want to rename and right click on it. Select "Rename Fence" from the drop-down menu.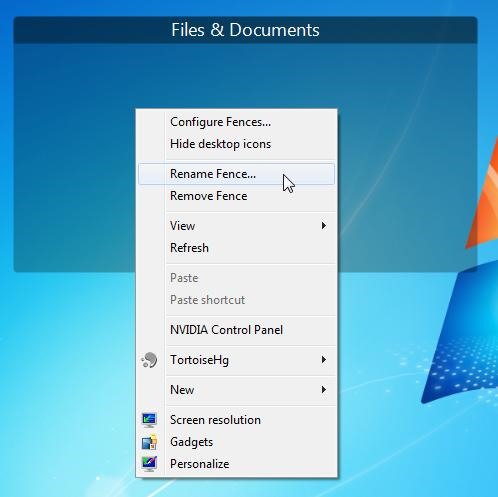
A window will pop up. There you must type the new name you want to give.
Remove
To remove a fence, right click on the fence. From the drop-down menu select "Remove Fence".

Tips
- Note that, removing a fences does not remove the icons contained in it. After you removed a fence, the icons inside it will automatically be positioned in the desktop 'unfenced'.
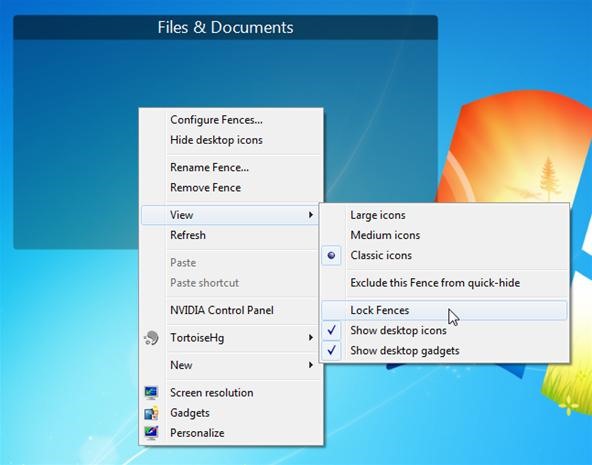
Lock
And if you're happy with your decoration, just lock the fences so that you don't have to worry about unwantingly moving them.
For that, right click on any of the fences. Click on "View" from the drop-down menu and select "Lock Fences" from the side-menu.
Step 8 Enjoy!
Now that you're done creating and editing fences' all you have left to do is... ENJOY!!
And here's my desktop:
BEFORE:
AFTER:
I write regularly for Hubpages.com. Find me there.
Just updated your iPhone? You'll find new emoji, enhanced security, podcast transcripts, Apple Cash virtual numbers, and other useful features. There are even new additions hidden within Safari. Find out what's new and changed on your iPhone with the iOS 17.4 update.


Be the First to Comment
Share Your Thoughts