Oracle VM VirtualBox.
A. Installation of Oracle VM VirtualBox.
i. Open terminal/console of Ubuntu. Go to Applications>Accessories>Terminal.
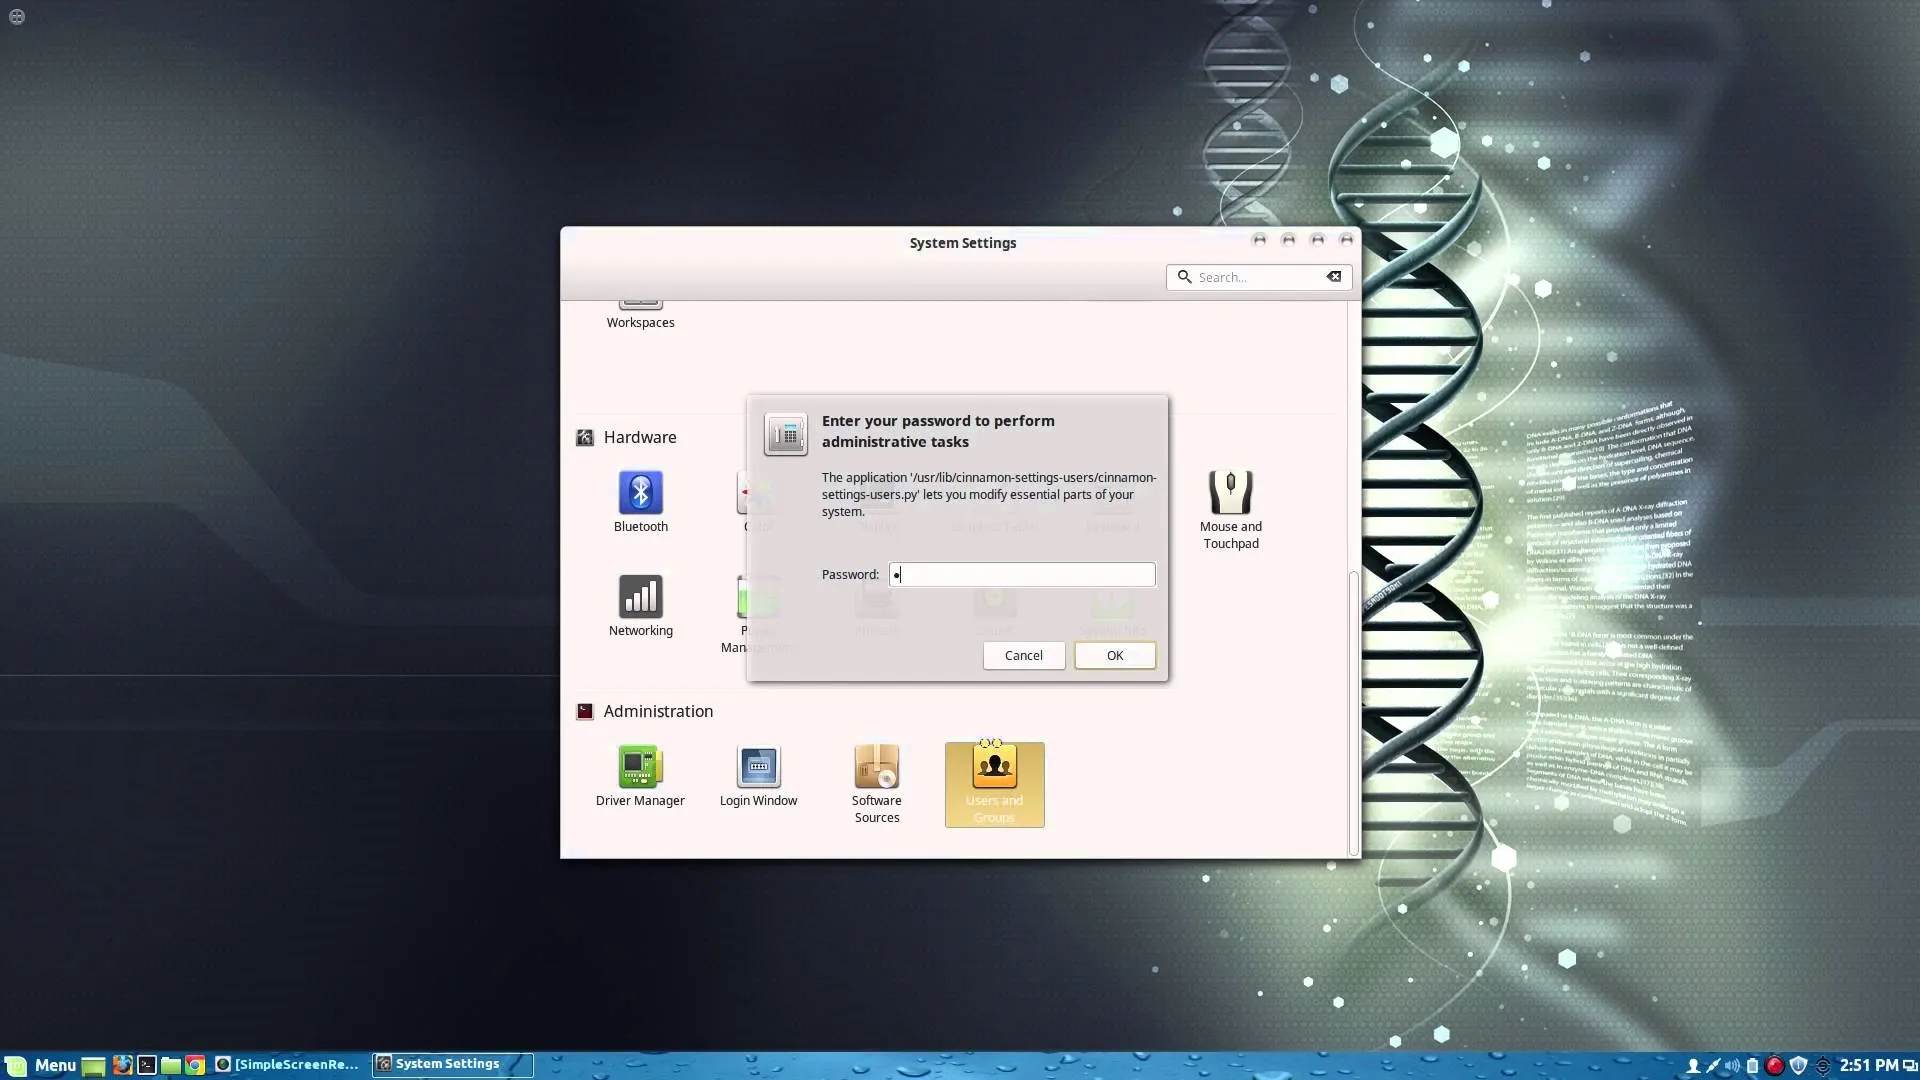
ii. Log in as root. Type ‘sudo su’ press enter. At the password prompt, type your password and hit enter.
iii. Type ‘apt-get update’ to install all necessary updates before installing VirtualBox.
iv. Type ‘apt-get install virtualbox-3.2’ to download and install VirtualBox automatically.
v. Type ‘apt-get install dkms’ to install dkms package to ensure virtualbox host kernel modules (vboxdrv, vboxnetflt, and vboxnetadp) are properly updated if the linux kernel version changes after the next apt-get upgrade command.
vi. To run Virtualbox go to Applications>System Tools>Virtualbox.
B. Configuration Guest Machines.
i. On the virtualbox GUI, click New and, Click Next on the Welcome Screen.
ii. VM Name and OS type settings.
1. Type a specific name for your virtual machine.
2. Select the correct Operating Sytem type. i.e. Microsoft Windows, Linux or Mac OS.
3. Select the correct version of OS, i.e. Windows 2000 or Windows X
iii. Memory Settings.
1. Set base memory settings to 1000 MB or equivalent to 1 GB.
2. Combined RAM of all configured virtual machines must not exceed 50% of Physcial RAM.
iv. Virtual Hard Disk
1. Creating New Virtual Hard Disks.
a. Check Boot Hard Disk and tick Create New Hard disk. Click Next.
b. On the welcome screen of creating new hard disks. Click Next.
c. Select fixed-size storage and click next.
d. Select location where your virtual hard disks will be saved. Specify the size of hard disk and click next.
e. On the Summary screen, review your settings and click Finish to start creating your Virtual Hard Disk.
2. Using Existing Virtual Hard Disks. [Same as importing hard disks]
a. Tick Use existing hard disk and click the folder icon to open Virtual Media Manager window.
b. On the Virtual Media Manager window click add. Browse to the directory containing your saved or imported Virtual Hard Disk and click Open. It will be added to your list of available Virtual Hard Disks recognized by VirtualBox.
c. Highlight your preferred Virtual Hard Disk and click select.
d. Review your settings on summary window and Click finish
v. Other Settings
1. Display Settings.
a. Video Memory
i. On Video Tab, adjust video memory to 64 MB.
ii. Tick Enable 3D and 2D video accelaration.
b. Remote Display
i. To enable remote control of your Virtual Machine, tick Enable server on Remote Display Tab.
ii. You can access the Virtual Machine Remotely thru Remote Desktop Connection thru the Host Server and specified port.
2. Network Adapter.
a. On Adapter 1 Tab, tick Enable Network Adapter and select Attached to Bridged Adapter. Default Name is eth0.
b. Click Advanced and select Pcnet-FAST III (Am79C973) as Adapter Type.
c. Check Cable Connected and click ok.
d. You can configure the IP address later inside the Virtual Machine.
3. Shared Folders
a. To access files on your Physical Hard Drive. A shared folder must be created.
b. Click on Shared Folders icon to add shared folders.
c. On Folder Path, browse and point to the directory of the folder you want to share.
d. Click OK.
e. To access, go to Entire Network, you will see VirtualBox Shared Folde
vi. Review
1. Review all settings before Powering Up the Virtual Machine.
a. If unable to connect to Network, Make sure that the Adapter is attached to Bridged Adapter.
b. If unable to Remote Control Display, another option is to enable it inside the Virtual Machine.




Comments
Be the first, drop a comment!