Make life easier by printing to your nearest PC printer the first time, every time.
You Will Need
* A printer
* A PC
* The printer's model number
* The printer's manufacturer
Step 1: Check connection and power
Check to see if the printer is properly connected and powered on.
Step 2: Click "Start" and find "Control Panel"
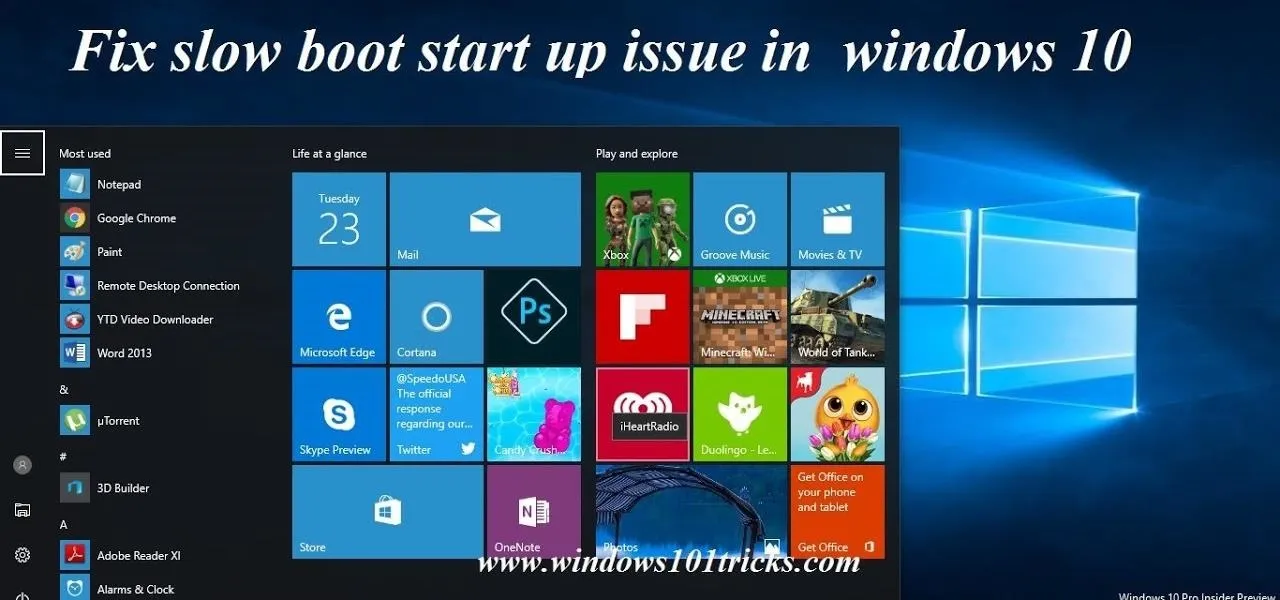
Click on the "Start" button at the end of the "Tool Bar" on your PC screen and then find the "Control Panel" on the pop-up menu.
Step 3: Click "Printers" icon
Find and double-click on the "Printers and Other Hardware" icon in the new window; then double-click the "Printers and Faxes" icon.
If you make a mistake, close the open windows and start over.
Step 4: Find your printer icon
Find the icon representing your printer and right-click on it.
Check for manufacture and model number on printer and then find the correct icon.
Step 5: Select "Default Printer"
Select "Default Printer" from the pop-up menu. If this selection is missing, the current printer is already your default.
Fact: In 1951, UNIVAC I, the world's first commercial computer, was unveiled – it did not come with a printer.





Comments
Be the first, drop a comment!